Google Backup Not Working, How to Fix It?
For Android phone users, syncing files or settings to Google Drive would be the most direct and easy way to backup phone data. With this feature, users are able to complete the backup process on the mobile phone and have no need of turning to any third-party software. So, it becomes a popular way to move Android files.
Nevertheless, most users reflect that their Google Drive do not run well sometimes and wish to get the solutions to fix Google backup not working issue. That's why this article comes.
4 Ways to Fix Google Backup Not Working Issue
Normally, there are 4 means available to solve the problem- Google backup not working. The followings are the details about these 4 methods and you can go with them one by one to try to settle the issue.
Method 1. Check the network connection
Google backup requires a strong network connection. Thus, you need to make sure that the network you are using is stable and strong. Here, if you are using a wireless network, you should reconnect your phone to a new and strong Wi-fi. On the contrary, if you are using the cellular data, you ought to check if you have set to backup with Wi-fi only.
To check this feature, you can open Google Drive on your phone and tap on the three-line icon to turn on the menu. Next, click on Settings option to check whether Transfer files only over Wi-fi is on. If it is on, you need to switch it off.

Method 2. Reconfigure Google account
Reconfiguring your Google account is a helpful method as well. In order to accomplish the reconfiguration, you need to remove the Google account from your mobile phone at first and then add it back. This means is easy to operate.
You can navigate to Settings> Accounts. After that, you will get a list of accounts. Just select Google and click on the three dots icon. Next, tap on Remove account option.

Then, you can add your Google account back and check if the Google backup works well this time.
Method 3. Clear cache and data of Google Drive
Caches and data are the main reasons of the Android application running failure. So deleting the caches and data of the software is always the advisable means to solve the problem that an App fails to work. Thus, you can use this method to fix Google backup not working issue as well.
To remove caches and data of Google Drive, the first thing you should do is to open up the application and go to Settings section. Next, you need to tap on Clear Cache option to remove the useless data. After that, you can reboot your phone to see whether the problem is fixed or not.

Method 4. Update Google Drive & Android system
The last method you can use to fix the error is to update your Android system or Google Drive. That's because the software update can fix some bugs of the older version.
- Android update: Just go to Settings> About Phone> System Updates/Software Updates.
- Google Drive upgrade: Go to Google Play Store to check if there is any update for Google Drive directly.
See also:
- Best 10 Android Desktop Managers to Manage Your Android Devices on PC/Mac
- Top 6 File Manager for Android to Keep Your Device Organized
Alternative Way to Backup Android Files
When all the methods mentioned above fail, you can try to use other tools, such as MobiKin Assistant for Android (Win & Mac). This program allows you to backup and restore all the files on your phone within one simple click. Moreover, the file types that it can backup are various, including contacts, messages, call logs, images, songs, videos, etc. Thus, most users like to use it to manage their phone data.
Now you can go with the details below step by step to backup your wanted files with one click.
- Download and install the software on your computer by clicking on the following icon and then launch the tool.
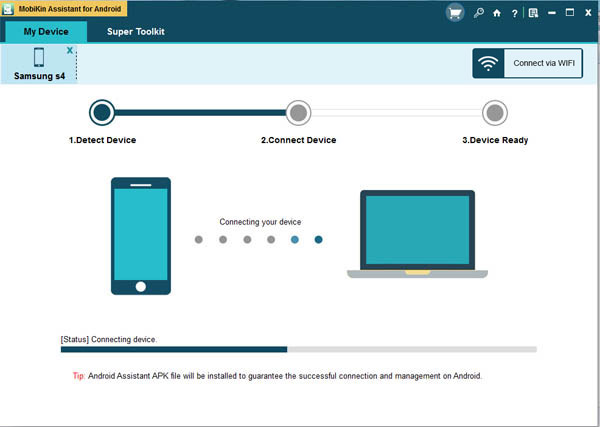
- Connect your phone to the computer via USB cable or Wi-fi. Here you need to enable USB debugging on your Android phone when you select the USB connection. After that, you should click Next to make the program detect the connected device.

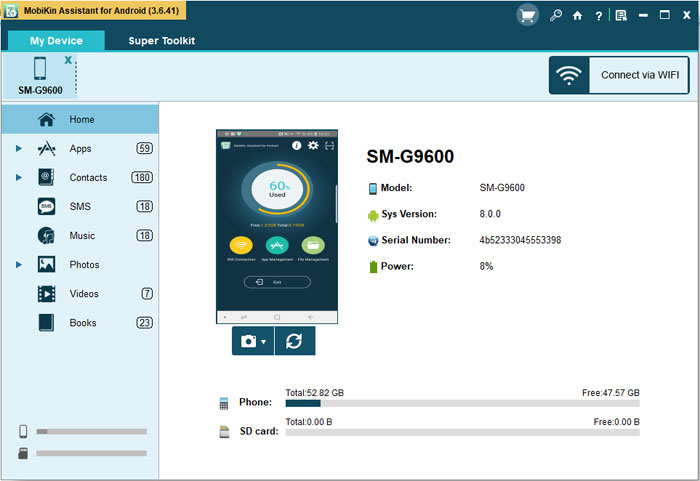
When your phone is successfully recognized, you can see the interface as below:

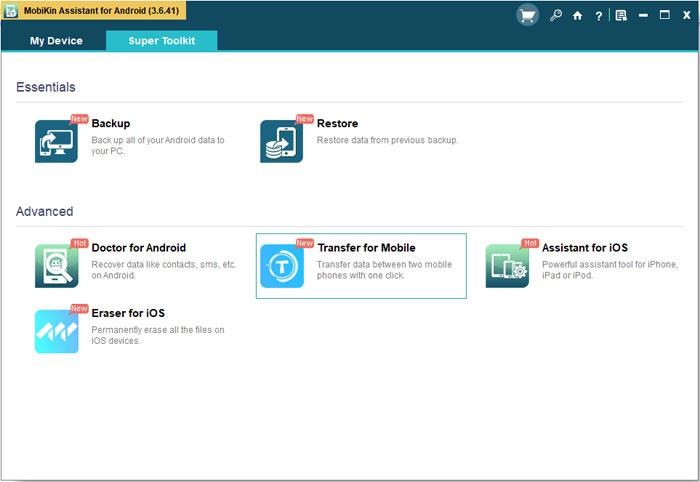
- Tap on Super Toolkit at the top menu and click on Backup option.

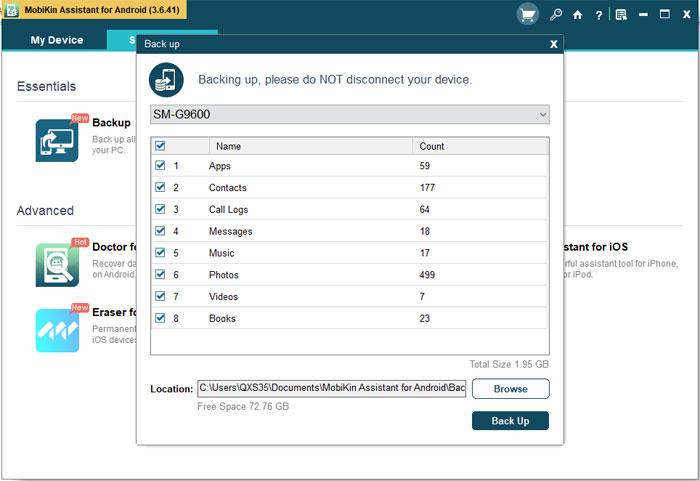
- Now you will get a pop-up window with several categories. Just check all the file types that you want to sync and choose the location to save the files. Finally, just hit Back Up to begin the moving process.

Certainly, if you want to restore your Android files, you can achieve your goal simply by clicking on Super Toolkit> Restore> Select the wanted files> Restore. Really convenient, right?
Related Articles:
A Complete Guide on How to Backup Files to OneDrive
Backup & Restore Samsung Phone Data with Kies
How to Transfer Contacts from Android to Computer
How to Import Contacts from Outlook to Android Phone? [Make Tech Easier]
Samsung Contacts Backup - How to Backup Contacts on Samsung? (4 Ways)


