Easily Clear Message Notifications on Android
Messages notifications keep popping up on your Android phone even if you have removed them from your device and locked your Android screen. Therefore, message previews clogged up your notification bars and then signals will keep shining, resulting in the illusion that you've got a new message. Does such case sound a little bit familiar to you? So you are one of the readers who want to clear message notifications on Android phone?
Then you are surely in the right place! Now, let's see how to clear message notifications on Android within simple clicks. And, you can gain more than one way in this passage!
Quick Fix: How to Clear Message Notifications on Android
METHOD ONE. Clear Message Notifications on Android by Cleaning Data
1. Open your Android phone and enter Home Screen of your device. Then go to Settings tab of your device.
2. Now go to General tab and then to Application Manager option.
3. You will now see a list of all downloaded apps will be arranged on the main interface.
4. Scroll down through the list of applications until you find the Messages app. Tap on it to show the information directly related to the application.
5. Within the Storage information, you can see the Show Notifications check box. Tick it out and then hit the Clear Data to continue the process. After the process is done, the message notifications will be removed from Android phone.

METHOD TWO. Clear Message Notifications on Android by Unchecking "Don't keep activities"
1. Open your Android phone and go to Settings tab.
2. Scroll down the menu until you go to Developer Options.
3. Tap it and then uncheck "Don't keep activities" on the next interface.
4. Finally, make sure that "Background Process Limit" is set to Standard.
After that, you would have successfully cleared message notifications on Android once the process is done.

METHOD THREE. Clear Message Notifications on Android by Deleting Messages in SIM Card
1. Go to the Home screen of your Android phone and navigate to Messages app.
2. Tap on the "Menu" key on your phone. A list of several options will pop up on your screen. (It is generally located in the top right corner of the interface.)
3. Now, scroll down the interface and check the Manage SIM card messages option.
4. Tap the Delete button in the top right hand corner of the screen.
But in using this way, all the saved messages will be removed from your Android device. So if you don't want to permanently say goodbye to these files, you are suggested to make a phone backup beforehand.
Extra Bonus: Professional Tool to Erase Unwanted Data on Android
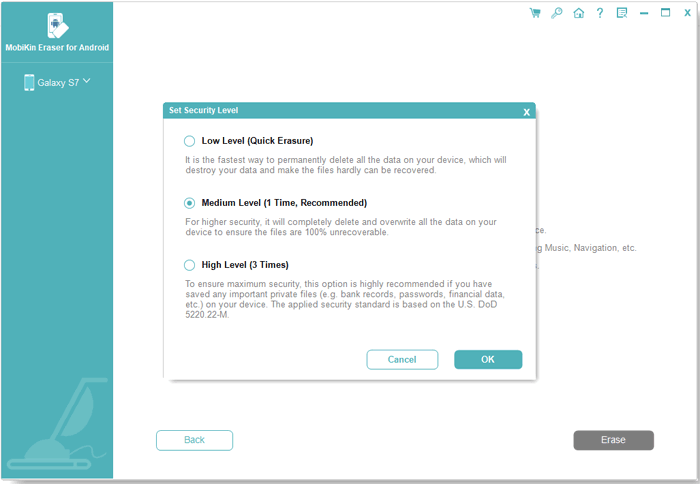
If you want to clear some files from Android once and for all or simply clear all junk files on Android, this Android Data Eraser software surely is the perfect one that you are looking for. With it, you can easily wipe out any unwanted files from Android device, be it useful ones or useless. And all different devices of Android operating systems can be fully supported. More importantly, files deleted with this software will have no chance of getting recovered. So before using this software, make sure that you really want to get something removed from your Android device forever.
Unlike other professional tools with complex user interface, this software allows you to clear files on Android within simple clicks.
Below are the exact steps for you:
1. Open the installed software on the computer and then get your Android phone connected to the computer via the USB cord. And install the MobileGo connector on your device as asked.

2. Now, choose the mode of Erase All Data to continue the process.

(Note: At the current version, there is only one Erasing mode, so you are suggested to back up other files ahead of time. But it will be improved in the coming versions.)
3. Finally, just type "delete" on the box to confirm your action and then wait for the process to get completed within a little while.
Related Articles:
4 Methods to Delete Photos/Videos from Android Phone Singly, Multiply or Entirely
How to Delete WhatsApp Chat History on Android/Samsung
Can I Delete Songs from iPhone But Keep Them on iTunes? Of Course You Can!


