How to Delete Duplicate Songs on iPhone 14/13/12
Are duplicated songs depleting the memory of your iPhone? Actually, having duplicate songs in your iPhone may not be noticed easily. So you may come across a song in duplicate form and you delete it manually. However, you may don't know that there are other duplicates that you are not aware of. It is no doubt that this could be crucial for every iPhone users to locate those songs and have them removed before a series of problems emerges. So in this article, we could like to show you how to wipe duplicate songs on iPhone devices permanently.
Reasons to Erase Duplicated Songs on iPhone:
First of all, we have summarized several reasons to explain why people want to erase duplicate music on iPhone as follows:
- A good way to free up memory space on your iPhone. We all know that iPhone always be treated as a portable library in your daily life, and people like to save lots of important data on it. However, with the using of your iPhone, you must have found that the iPhone's memory become smaller and smaller. So deleting the duplicate songs on your device could be greatly release the space, and you can save more new files as you like.
- Erasing duplicate iPhone music can greatly prevent hanging and sudden restarting of your device.
- Make your iPhone Music library look more tidy.
- ...
Tool You'll Need:
After knowing why people need to delete duplicate songs on iPhone, the program here is how to reach it. As we mentioned above, the files deleted manually always not be wiped thoroughly. So in order to ensure the effects of deletion, here you'd better to find a professional data eraser program as your assistant. Thus, here we could like to strongly recommend iOS Data Eraser for your reference. With it, you can easily wipe any unwanted data or files from iPhone, iPad or iPod touch with few clicks.
Now, just download and install the program on your computer and follow the below instructions to begin your own deleting process.
Tutorial on Deleting Duplicate Songs on iPhone 14/13/12/11/XS/XR
Step 1. Run the Program and Make Sure Your iPhone is Connected to PC
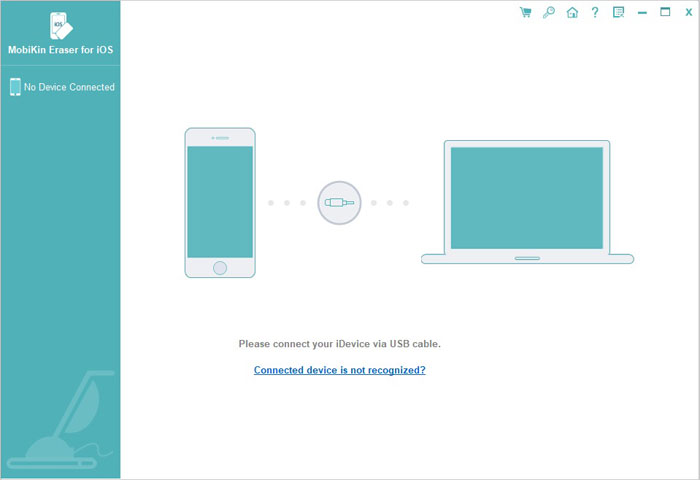
To begin with, please connect your iPhone device to the computer via USB cable, Then launch the program and then it will automatically detect the device you have connected. And you can see an interface like below:

Step 2. Scan Your Device and Find Your Target Files
Hit on "Erase Privacy Info" in the left panel, and then click "Start Scan" button to begin find such files on your device.
Step 3. Select Duplicate Songs to Delete
Wait for a little while, the scanning will be finished, and you can click "Music" files to preview and select the duplicate songs in the program.
Step 4. Begin to Delete
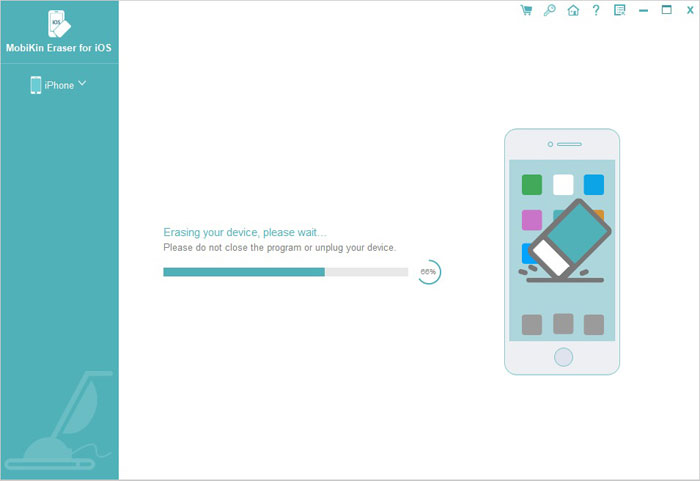
After selecting all needed files, you can hit "Erase Now" button and enter "delete" to confirm your action and begin the process. And all deleted files will never be restored. So if you're not sure whether you need them in the future, you can backup it before the deletion.

Related Articles:
How to Erase iPhone Data without Restoring Permanently


