4 Ways to Delete Browsing History from iPad
Deleting browsing history on iPad is an action that is often recommended to be undertaken in order to not encounter any website loading issues in the near future, as well as to keep one's privacy restrict from others. This action aids device to function at a faster pace in several aspects, another reason as to why so many people opt to put it into practice. Deleting browsing history has often been referred to as "browser hygiene". It should be conducted on a regular basis if possible, no matter if you are utilizing Safari, Google Chrome, or Firefox.
Part 1. How to Delete Browsing History on iPad Using Safari?
To erase browsing history from your iPad, you can try the easiest method - using the Setting function. Go through the following steps to learn how to delete history from iPad Pro, Air, 4, mini, etc. in few clicks.
Step 1. To get started, you will first need to open iPad's settings by going to the home screen and then clicking on the gray application that has gears and the word "settings" at the bottom.
Step 2. The next step consists of scrolling down and clicking on "Safari" in order for its menu to appear on the right side of your screen. On this menu, scroll down and then to click on "clear history and website data", which you will find at the very bottom.

Step 3. When prompted, click on "Clear" so that deletion of history can take place.
That is all. You are done!
More Useful Articles:
Top 3 iPhone Data Eraser - Erase Everything on iOS Devices
How to Uninstall Unwanted Apps on iPhone and iPad
Part 2. How to Delete Google Chrome Browsing History from iPad?
Google Chrome is the most popular search engine in any platform and many iPad users like to use Google Chrome on their iPads. So, the following process will show you how to delete Google searching history from your iPad.
Step 1. To start off, open Google Chrome, which can be found on the home screen. After doing so, click on the three-point symbol, which is located at the top right section of the screen.

Step 2. You will notice that a drop-down menu will become apparent. Click on the "Settings" options located at the near bottom. Another menu will appear, which you will then search for the advanced group options and then click on "Privacy".
Step 3. At the bottom of the privacy window, find "Clear Browsing Data" and then click on it. Find out if a blue checkmark is already present to the right of it. If it is, this means deletion of browsing history will take place.
Step 4. If desired, check on the other options offered to be deleted, including saved passwords, cached images and files, and cookies. Once this is performed, click on "Clear Browsing Data" located near the bottom in order to begin the deletion process.
Part 3. How to Clear Firefox Browsing History from iPad?
Firefox is another common browser. In this part, you will get to know how to clear Firefox browsing history from iPad.
Step 1. On the home screen, click on the Firefox icon. After doing so, click on the three-point symbol, which is located at the top right of the Firefox page screen. A menu will soon be viewable, one where you will click on "Settings".
Step 2. There are different options available on the settings' menu. Scroll down to find "Clear Private Data" and then click it.
Step 3. You will then see browsing history, cache, cookies, and offline website data sections. Make sure the slider of all of them is orange, unless you want to maintain one of them intact.
Step 4. Afterward, click on "Clear Private Data" at the bottom. When prompted, click "OK" to clear private data. It is important to highlight this action will not be able to undone.

Note: The above three ways to delete browsing history on iPad can't delete files for good and those deleted histories can still be recovered back with some professional iPhone data recovery programs. If you want to delete all browsing history on iPad permanently, you can keep on reading on the Part 4 in the below.
Part 4. How to Delete Safari Bookmarks Permanently on iPad?
When it comes to deletion of Safari bookmarks, there are individuals who resort to obtain the aid of software to ensure data is completely and permanently deleted. Let us not forget to mention that if there are a lot of bookmarks present, software can save one valuable time. There are numerous software options on the market to help with this task, which can definitely cause confusion to arise when it comes to deciding which one is able to really get the job done effectively and in a timely fashion manner. At the moment, the go-to choice is iPhone Data Eraser.
Main features you can enjoy from the iPhone Data Eraser:
- 1 click to permanently erase your iPhone/iPad data with zero opportunity to restore;
- Erase selected data in the form of categories, such as contacts, photos, messages and so on;
- Clean up private data with simple clicks and free up spaces on your iDevices.
- Compatible with both iOS and Android device.
Steps to Delete Browsing History from iPad Permanently with iPhone Data Eraser:
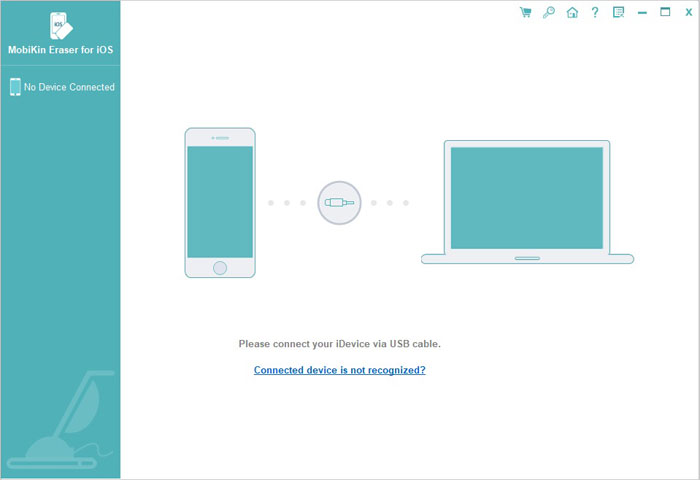
Step 1. The first step is to download and install the iPhone Data Eraser. It supports Windows and Mac OS X. After installation has completed, launch application on your computer and you will get its primary interface like below.

Step 2. To begin Safari bookmark deletion, device should be plugged into PC. The next step is click on "start scan". After scanning has been completed, private data will be viewable.
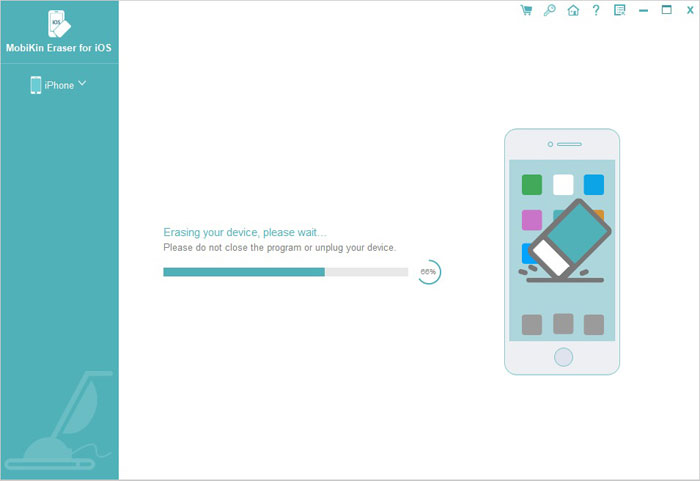
Step 3. Click on Safari bookmarks and then confirm deletion when prompted. You will be notified as soon as every bookmark has been deleted. Yes, it is this easy!

The Bottom Line: Delete Browsing History from iPad Easily and Effectively
No matter the browser you are utilizing on iPad, browsing history can be successfully deleted if you take the respective previously mentioned steps into account. Even so, deleting data from iPad manually can only be performed to some extent, hence why it would not hurt taking iPhone Data Eraser into account, as well. Besides being able to delete Safari bookmarks permanently, it is able to help with other tasks on devices, hence why so many individuals download it on a daily basis. It is very easy to begin taking advantage of iPhone Data Eraser, no experience of any kind required.
Related Articles:
2 Ways to Delete Voicemails on iPhone


