4 Solutions to Erase All Content and Settings from iPhone
I believe many consumers want to have the latest smartphone models. That's why more and more people are getting the latest phone models by selling or trading their old phones to reduce the cost of buying new phones. However, whether you are selling or renewing your device, you need to erase all content and settings from your iPhone, iPad and iPod in advance to protect your personal details and privacy. This is also an effective way to improve the speed of your phone if you think your phone is getting slower and slower. Below are 4 efficient ways to help you erase all content and settings from iOS devices.
Part 1. How to Erase All Content and Settings from iPhone Directly?
To remove all content and settings from your iOS device directly, Apple ID is required on your iPhone, iPad and iPod. Just follow the steps to try the easiest way to erase your iOS device. We set iPhone as example:
Step 1. Turn on your iPhone and go to tap on Settings > General > Reset > Erase All Content and Settings.
Step 2. Tap on Erase iPhone > Erase iPhone to confirm > Enter your passcode > Enter your Apple ID and password to turn off Activate Look and delete the device from Find my iPhone.

More Useful Articles:
4 Ways to Delete Browsing History from iPad
How to Uninstall Unwanted Apps on iPhone and iPad
Part 2. How to Erase an iPhone/iPad/iPod with Apple ID Using iTunes?
Step 1. First of all, you should turn off Find My iPhone function on your iPhone. To do so, you need to turn on your device and go to click Settings > iCloud to make it.
Step 2. Open iTunes on your computer and connect your iPhone to this computer. Choose Trust the computer on the pop up window on your iPhone.
Step 3. The connected iPhone will be detected by iTunes. Just go to the left sidebar on iTunes to select your iPhone and then click on Summary > Restore iPhone...

Part 3. How to Erase iPhone without Apple ID Using iTunes?
Here in this part, we will tell you how to erase iPhone without Apple ID/passcode using DFU Mode via iTunes.
Step 1. Launch iTunes on your computer and connect your iPhone to it via a USB cable.
Step 2. You need to turn your iPhone into Recovery Mode. To achieve that, you should press the Home button and wake/sleep button until you see the Recovery screen (for iPhone 7, press volume down button and wake/sleep button). Then, click OK on the pop-up window in iTunes.
Step 3. On the main window of iTunes, you should click Summary and choose Restore iPhone...
Note: The above three ways to erase iPhone content and settings actually can't delete files for good and those deleted files can still be recovered back with some professional iPhone data recovery programs. If you want to delete all data on iPhone, iPad and iPod permanently, you can keep on reading on the Part 4 in the below.
Part 4. Erase iPhone Data Permanently without iTunes or Apple ID
iPhone Data Eraser is regarded as one of the best tools for completely deleting and overwriting iPhone original content and making it permanently deleted with zero recovery possibility. It uses a professional and mature erase mode to permanently delete your various data, including contacts, voicemails, messages, call history, photos, videos, music, calendars, etc. If you plan to sell or trade in your old phone, then iPhone Data Eraser is your best choice. With this software, you can rest assured that even if other people use iPhone data recovery software, your deleted data will not be restored or fall into the wrong hands.
Main features you can enjoy from the iPhone Data Eraser:
- 1 click to permanently erase your iPhone/iPad/iPod data with zero opportunity to restore;
- Erase selected data in the form of categories, such as contacts, photos, messages and so on;
- Clean up private data with simple clicks and free up spaces on your iDevices.
- Compatible with both iOS and Android device.
Steps to Erase iPhone Data Permanently with iPhone Data Eraser:
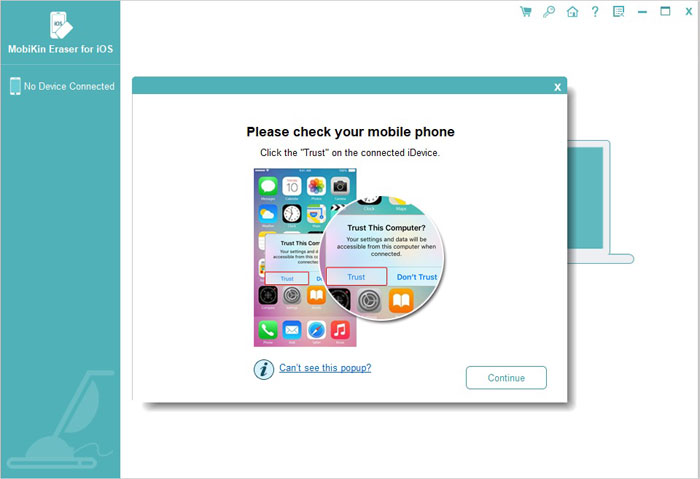
Step 1. Download, install and launch the iPhone data erasing software on your computer, then connect your iPhone, iPad or iPod to the same computer with a USB cable. To continue with the steps, you need to trust the computer on your iOS device firstly.

Step 2. Choose the option of "Erase Private Data" on the interface of the program , and then the program will start to scan for all files on the connected device. After the scan, all the scanned out file types that can be erased by the program will be displayed here in list.
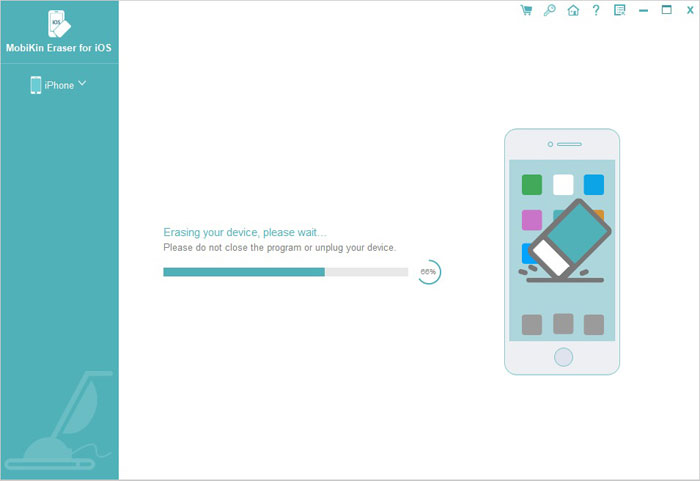
Step 3. Choose the data type that you want to delete from the iOS device and click "Erase Now" button to start the erasing process.

Related Articles:
2 Ways to Delete Voicemails on iPhone


