[Solved] How to Permanently Delete HEIC Photos on iPhone or iPad?
After upgrading to iOS 11, all photos on iPhone or iPad may saved in the format of HEIF(.heic). And this format can compress your photos to save storage space without losing any quality. However, the iPhone or iPad storage is limited and to avoid leaking out personal info by accident, some of you wish to find a way to delete HEIC photos on iPhone or iPad, thus we write this article to show you a complete guide on how to erase HEIC phones on iPhone or iPad easily.
How to Simply Delete iPhone HEIC or HEIF Photos with Photos App?
Photos app is the built in photo management tool on iPhone or iPad, it allows users to view, edit or delete pictures from iDevices within few clicks. So, when you're going to remove HEIC images from iPhone or iPad, you can try the Delete function in the Photos app. But, you should be noticed that photos deleted with Photos app can be recovered with some special iPhone data recovery software.
Here is how:
Step 1. Directly find and tap on "Photos" app on the Home screen, then click "Select" button on the upper-right corner.
Step 2. Tick the HEIC photos you wish to remove and click the trash icon at the bottom corner. Then you'll get a pop-up window.
Step 3. Confirm the "Delete" order and then your selected pictures will be removed soon.

How to Permanently Erase HEIC Photos on iPhone or iPad?
In most situations, the deleted iPhone photos can be retrieved with an iPhone Photo Recovery software, so how to ensure the deleted HEIC photos cannot be recoverable? Here, you may need the help of a professional iPhone Photo Eraser software. With it, you can:
- 1 click to permanently erase your iPhone data with zero opportunity to restore;
- Erase selected data in the form of categories, such as contacts, photos, messages and so on;
- Clean up private data with simple clicks and free up spaces on your iDevices.
- Compatible with both iOS and Android device.
Below is the detailed steps of deleting HEIC photos on iPhone:
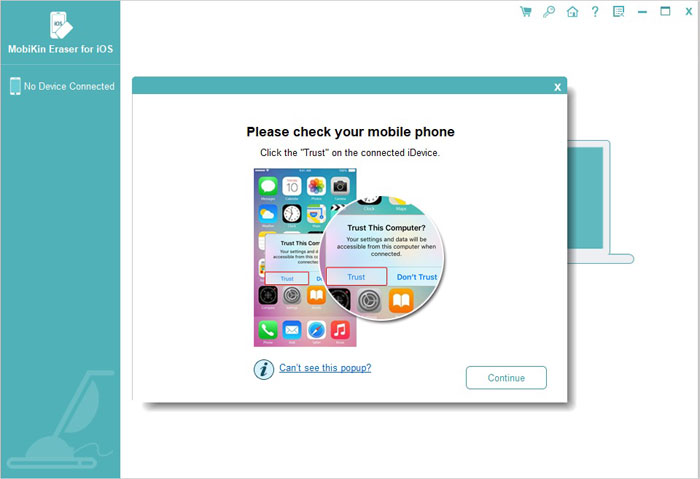
Step 1. Download, install and launch iPhone HEIC Eraser software on your computer, then connect iPhone X, iPhone 8 Plus or other devices in iOS 11 to PC with USB cable. Here, you need to trust the computer firstly.

Step 2. Choose "Erase Private Data" button, then the program will start to scan for all files on iPhone, and display the results in the program.
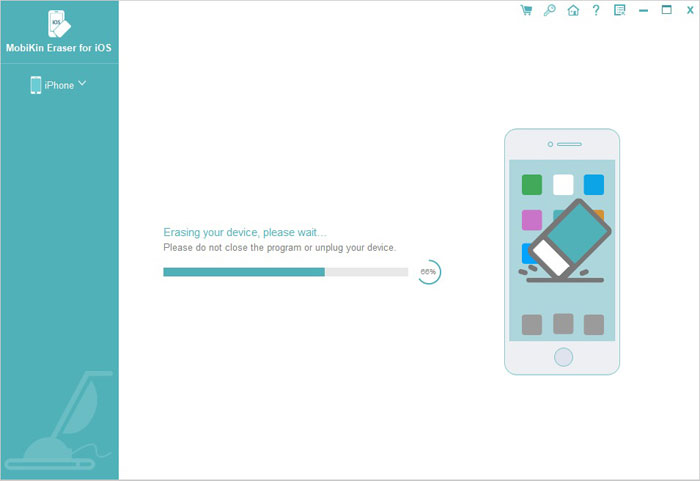
Step 3. Click "Photos" and view the detailed pictures in the right panel. Now, you can click "Erase Now" button to permanently wipe these HEIC photos.

How to Remove HEIC Images from iPhone with Image Capture (Mac OS)?
If your Mac is running on MacOS High Sierra 10.13 or above, you can try to use the Image Capture to delete HEIC photos from iPhone or iPad. This method is not suitable for PC or MacOS High Sierra 10.12 and lower.
Step 1. Connect iPhone to Mac and launch Image Capture. Then click your device icon and view all iPhone photos in the program.
Step 2. Choose the HEIC or HEIF photos you wish to delete, and click the "Delete" button.
Step 3. Confirm the order and your selected photos will be removed soon.

Conclusion
Above are three different ways to delete HEIC photos on iPhone or iPad, does it useful for you? You may have found that only the second method can make your photos unrecoverable, so if you need to permanently erase iPhone HEIC photos, please download and try the best iPhone HEIC Eraser software by yourself.
Related Articles:
3 Tested Ways to Wipe Android Phone Permanently before Selling It
7 Top-rated Ways to Delete All Photos from iPhone 15/14/13/12/11 [2023]
4 Marvelous Ways to Delete Messages from iCloud Storage [Quick Guide]
How to Permanently Delete Text Messages from My Android Phone?


