A Useful Guidance to Transfer Photos to Google Nexus 10/9/7/6/5
For those photos you've taken, you can edit them in the Photoshop program on your computer to make the photos and pictures more stunning. And then you may want to transfer these photos to your Nexus 7. How to import photos from computer to Nexus 7? Well, You can transfer photos from your computer to your Google Nexus device in a few different ways.
Way 1: Transfer Photos from Computer to Google Nexus 7 via USB
Connect your Nexus device to your computer using a USB cable. Your device should prompt you to allow USB debugging if this is your first time connecting it to your computer. Once connected, you can access your device's internal storage from your computer and copy the photos to it.
Way 2: Transfer Photos from Computer to Nexus 7 via Google Photos
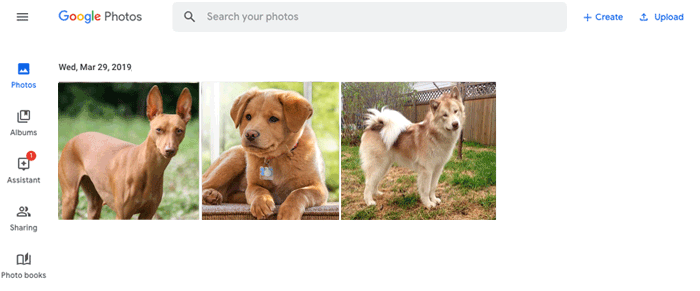
You can also use the Google Photos app to transfer photos from your computer to your Nexus device. First, upload the photos you want to transfer to the Google Photos website (photos.google.com). Then, open the Google Photos app on your Nexus device and the photos will automatically sync to your device.

Way 3: Copy Photos from Computer to Google Nexus with Cloud storage
Another option is to use cloud storage services such as Google Drive, Dropbox, or OneDrive. Upload the photos you want to transfer to the cloud storage service from your computer, then download them to your Nexus device using the respective app.
Way 4: Transfer Photos from Computer to Nexus 7 via Assistant for Android
Here, we've picked out the most powerful transfer software to make Nexus photos transfer. It is MobiKin Assistant for Android. With the assistant of the software, you transfer photos to Nexus 7 with no restrictions. Apart from photos, other data such as music, files and videos can be imported from computer to Nexus device. Moreover, you can transfer data from Nexus 7 to computer including apps, contacts, videos, photos, music and files, etc. by operating this transfer software. It can also manage contacts on your Google Nexus.
And it is compatible with all Android devices like Samsung, Sony, Motorola, HTC, LG, Huawei, and ZTE and so on. If you want to manage the transmission between Nexus device and computer, you're highly recommended to use this software. Now it has two versions - Windows version and Mac version for you to choose. You can download a free trial version to give it a go first. Then you can follow the instructions below.
Guide to Move Photos between Nexus 7 and Computer:
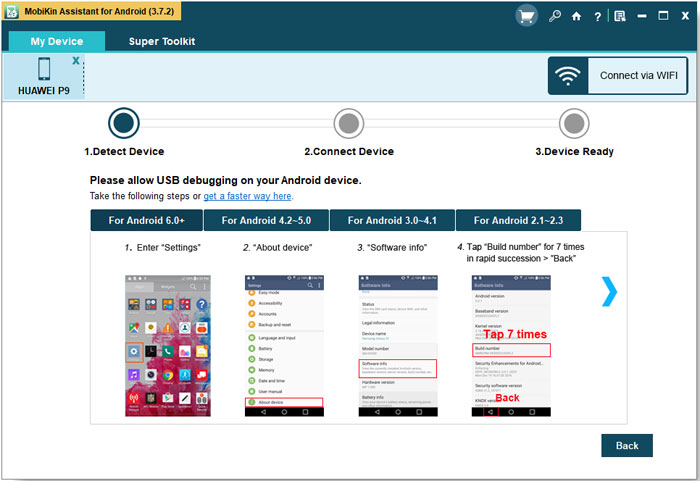
Step 1: To make your Nexus 7 be detected by the program, you need to enable USB debugging first. If you have done this before, you can skip this step.

Step 2: When the detection is done, you'll see a window as follows, displaying all information of your Nexus 7 on the main interface.

Step 3: Now, you can choose the "Photo" category and click the "Phone Gallery" option on the left sidebar. All photos and pictures on your Nexus phone are listed on the right panel. Go to click the "Import" button, select the photos on your computer, and import them to Nexus 7 successfully.
You can not only transfer photos to Nexus 7, but the software empowers you to copy other data like contacts, music, videos, books and more between Nexus device and computer.

Conclusion
Regardless of which method you choose, make sure to check that the photos have been successfully transferred to your Nexus device before disconnecting it from your computer or closing the app. We recommend that you use Assistant for Android directly because of its security and ease of use.
Related Articles:
Tips to Transfer Text Messages from Android to Computer
How to Transfer, Copy Text Messages from Samsung Galaxy to PC/Mac
How to Transfer Contacts from Android to Computer
How to Print off Text Conversation from Motorola Phone?
Motorola Data Recovery - How to Recover Deleted Files from Motorola


