How to Transfer Files from iPad to iPhone? 6 Simple Tactics
Transferring files from your iPad to iPhone can be a practical solution for many reasons - whether you're looking to free up space on your old Apple iPad, ditch the iPad in favour of a new iPhone, or need access to the same files on both devices. Whatever the reason, knowing how to transfer files from iPad to iPhone efficiently is essential for seamless cross-device use.
Now, go through this full guide with 6 methods to make this transfer happen, including options with or without a USB cable.
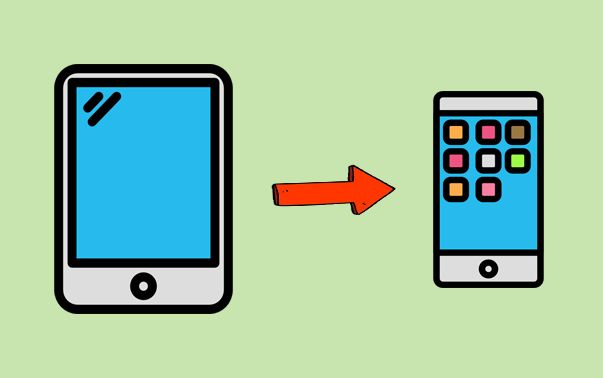
Part 1: How to Transfer Files from iPad to iPhone via USB [Efficient]
Would you like to transfer data from your old iPad to your new iPhone 16/15/14/13/12/11/X/8/7 with a single click? If that is the case, MobiKin Transfer for Mobile (Windows and Mac Version) is the ideal solution for you. This user-friendly software allows for a swift transfer while preventing any data loss.
Compatible with various mobile devices (iOS/iPadOS/Android), this tool ensures the security of your data throughout the transfer process and maintains the integrity of all information on your source device. Additionally, it supports a wide array of data types, facilitating a seamless transmission experience.
Operating Instructions:
Step 1: Connection -Initiate the process by downloading, installing, and launching the relevant software on your computer. Following this, connect both your iPad and iPhone to the system via USB. To create a virtual link between the devices, select "Trust" and then click "Continue" when prompted by the software.
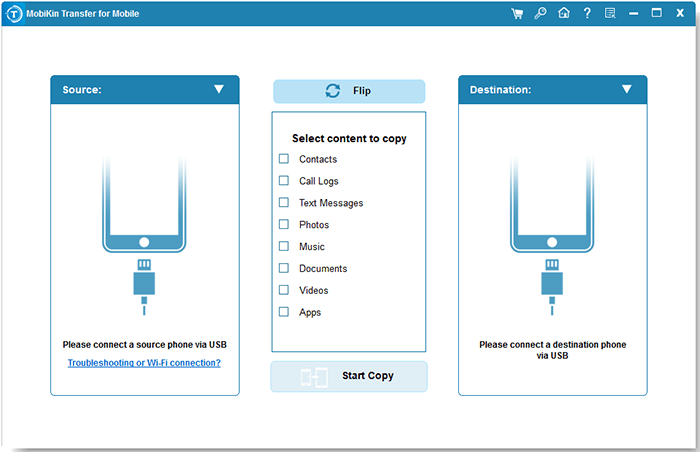
Step 2: Inspection - After the devices are recognized, verify that the iPad appears on the left side of the interface and the iPhone on the right. If the layout is incorrect, please click "Flip" to rearrange their positions as needed.
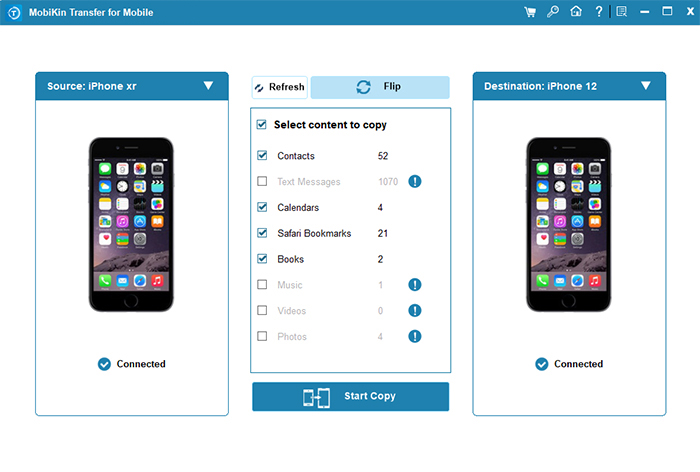
Step 3: Migration - The main interface will present all the types of data available for transfer. To continue, choose the data types you wish to migrate and click "Start Copy" to commence the migration process without delay.
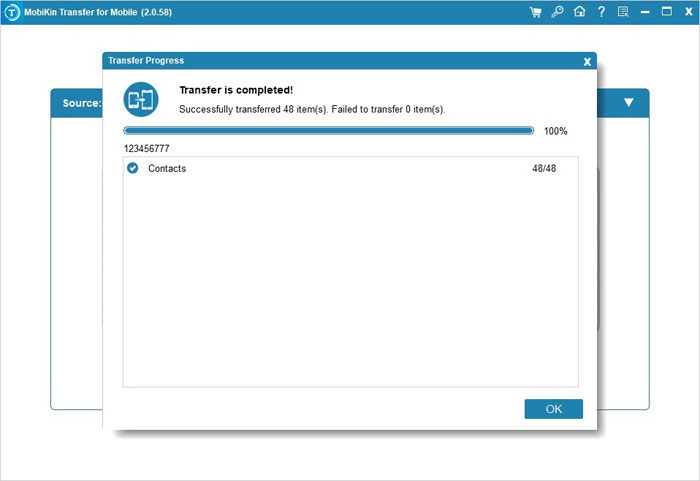
Video Tutorial: For a vivid reference, watch the video below.
Part 2: How to Transfer Data from iPad to iPhone Wirelessly
> 2.1 Using Quick Start
If your iPad is running iOS 11 or later, you can easily transfer data to your new iPad using Quick Start. This feature transfers content, settings, and preferences via Wi-Fi and Bluetooth by placing the devices close to each other. (Will Quick Start transfer everything?)
Operating Instructions:
- Ensure your current iPad is connected to Wi-Fi and Bluetooth is on.
- Turn on your iPhone and place it next to the iPad.
- Connect the target phone to Wi-Fi or mobile network.
- Select your Apple ID and press "Continue". You can transfer other Apple IDs later.
- When an animation appears on the new device, use your current phone's camera to scan it.
- Tap "Authenticate Manually" if needed.
- Follow on-screen instructions to start the transfer. If they disappear, restart both devices and start again.
- Enter your current iPad passcode.
- Set up "Face ID" or "Touch ID" on the iPhone.
- Tap "Continue" to transfer data and keep both devices close.
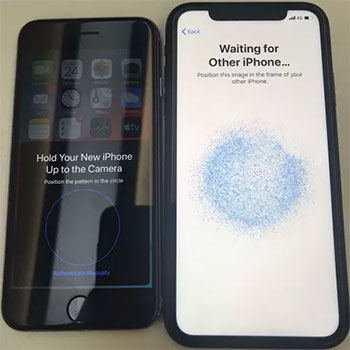
Note: The time to transfer files from iPad to iPhone using Quick Start depends on data size, connection speed, and device performance. It usually takes 10 minutes to 2 hours, with larger transfers requiring more time. If the transfer failed, click here to get the 10 solutions.
> 2.2 Using AirDrop
To ensure a smooth process using AirDrop, verify that Bluetooth and Wi-Fi are enabled on both iOS devices. Additionally, if the Personal Hotspot feature is active, please turn it off.
Operating Instructions:
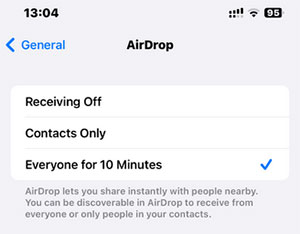
- On the receiving iPhone device, activate AirDrop by accessing the "Control Center" and tapping on the "Network Settings" section to reveal additional options.
- Select "AirDrop". Next, opt for "Everyone for 10 Minutes".
- On the sending iPad, find the files you wish to share and tap the "Share" button. If this option is not visible, first tap the "More" icon to locate it.
- Choose AirDrop. Select the desired recipient from the list of available options.
- Return to the receiving device and click "Accept" when prompted to initiate the data transfer.
> 2.3 Using iCloud Sync
iCloud sync allows seamless data transfer between Apple devices, including iPads and iPhones. By storing files in iCloud, such as photos, documents, and app data, iCloud automatically syncs them across devices signed into the same Apple account.
Operating Instructions:
- Ensure iCloud has sufficient space available.
- Verify that you are utilizing the same Apple account across all your Apple devices.
- If you are not, please sign in to your preferred account first.
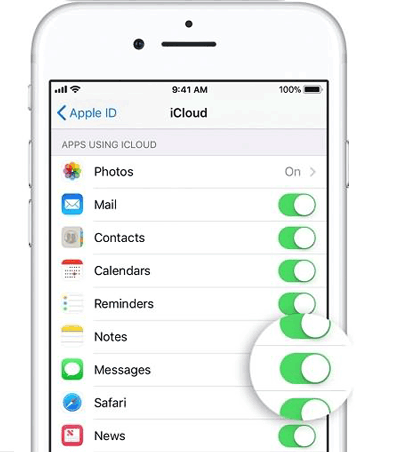
- Next, navigate to the iPad "Settings" menu.
- Tap on your "Profile" icon located at the top of the screen.
- Subsequently, select "iCloud".
- Scroll down to the section "Apps Using iCloud".
- Activate this feature for the iOS apps that contain the files you wish to synchronize.
- Once this process is complete, access and modify the files from your iPhone, where you are logged in with your Apple account.
Besides iCloud sync, iCloud Drive can also be used to make the transfer easily. This service syncs files under 50GB across devices like iPhones, iPads, Macs, and PCs, ideal for documents. To do this: On iPad, go to "Settings" > [your name] > "iCloud" and enable "iCloud Drive." In the "Files" app, upload files to iCloud Drive. On iPhone, open "Files" > "iCloud Drive" to access and move files.
> 2.4 Using Google Drive
Google Drive is a versatile cloud storage service that can now work seamlessly on Apple devices, making it easy to
transfer data between an iPad and an iPhone. Just upload files to Google Drive on one device and access them on the other for a quick and efficient transfer.
Operating Instructions:
- Download, install, and log into Google Drive on both iOS devices with the same account.
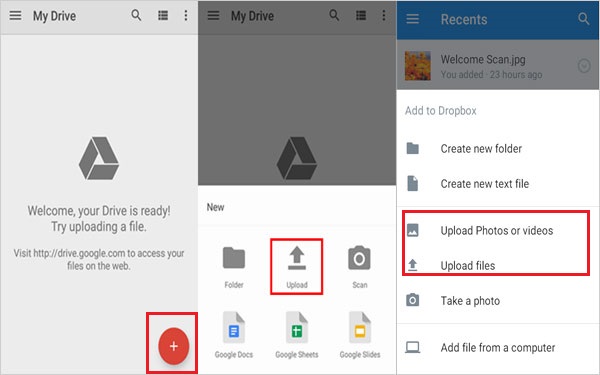
- On the sender's device (iPad), open the app and tap "New," then select "Folder" and rename it.
- Open the folder, tap the "Add" icon, select "Upload," and choose the files to transfer.
- Wait for the upload to complete.
- On the receiver's device (iPhone), open Google Drive, find the folder, and access the files.
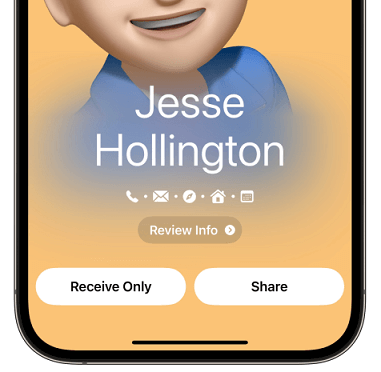
> 2.5 Using NameDrop (Contacts)
For Apple iPads with Cellular Versions, including iPad Pro, iPad Air (3rd generation and later), iPad (7th generation), iPad mini (5th generation) and later, they can hold SIM cards for making phone calls. Users can use NameDrop to transfer contacts to an iPhone from an old iPad.
Operating Instructions:
- Make sure both devices are running iOS 17 or later.
- Turn on Bluetooth and Wi-Fi on both your iPad and iPhone.
- Swipe down from the top-right corner to open the "Control Center", then tap the "AirDrop" icon to set it to "Everyone."
- On your iPad, open the app containing the file you want to transfer.
- Hold the iPad and iPhone close together. The NameDrop interface will appear on the iPad's screen.
- Choose the contacts you wish to share, and tap on it to send it to the iPhone.
- Accept the transfer on the iPhone to complete the process. (Try to fix NameDrop not working when this feature fails to work.)
Round Off
As you can draw from the above, Quick Start, AirDrop, iCloud, Google Drive, and NameDrop can complete the transfer without a USB connection, and this has certain limitations on transmission efficiency and transmission success rate.
To ensure a direct, efficient, and error-free transfer, we acknowledge MobiKin Transfer for Mobile completely, a tool designed to make transferring files between iOS devices quick and hassle-free.
Hot Articles:
Full Guide on How to Screen Mirror iPhone to iPad in 2024
6 Flexible Methods to Connect iPhone to iPad Pro/Air/4/mini
[Guide] How to Recover Deleted Files on iPad 10/9/8/Pro/Air/4/mini?
[2024 Updated] How to Back up iPhone to Computer Efficiently?


